Introduction
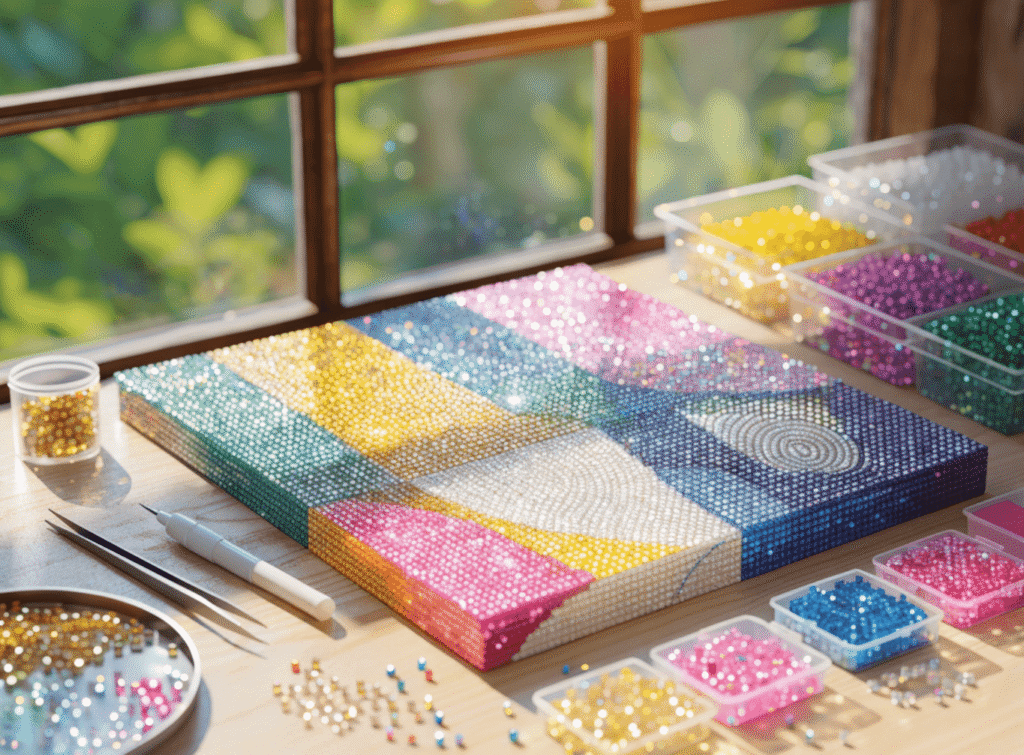
Diamond painting has quickly become one of the most fascinating craft trends worldwide—capturing the attention of hobbyists, art enthusiasts, and decorative retailers alike. As a manufacturer and supplier within the creative arts and accessory industry, I’ve seen firsthand how this innovative mosaic-style technique bridges the gap between art therapy and tactile craft design. By applying tiny resin “diamonds” to a pre-printed adhesive canvas, creators produce vibrant, shimmering artworks suitable for home décor, gifting, and retail exhibition.
Diamond painting is a modern craft hobby where users position small, faceted resin rhinestones—referred to as “drills”—onto a coded canvas coated with adhesive. Each symbol printed on the canvas corresponds to a diamond color, similar to a paint-by-number system. The result is a striking, light-reflective mosaic design that combines the satisfaction of cross-stitch with the visual brilliance of crystal art.
From an industry perspective, understanding diamond painting involves more than crafting—it’s about learning technical aspects such as resin drill manufacturing, adhesive layering, and the finishing process that ensures longevity and sparkle. Whether sourcing kits for retail or developing private label products, knowing how diamond painting works helps businesses predict consumer preferences, design replenishment strategies, and manage production quality from concept to shipment.
How Can I Understand the Process of Creating a Complete Diamond Painting Design?
Step-by-Step Overview
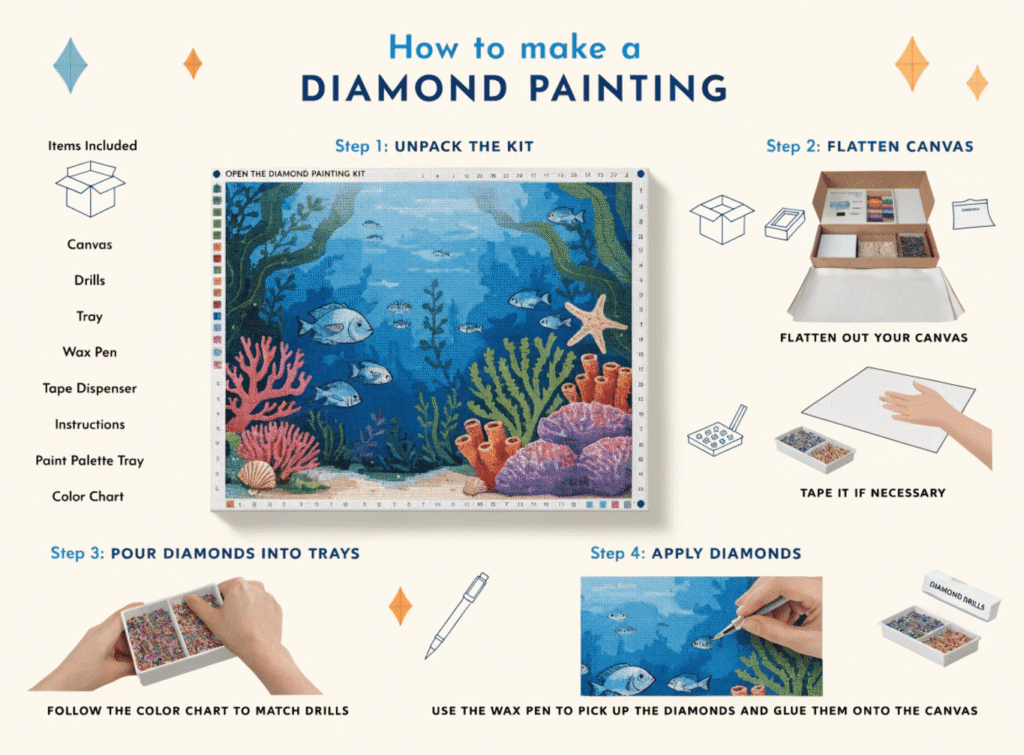
At its core, diamond painting works much like a coded puzzle. Each canvas comes printed with design outlines plus a grid of tiny symbols. Each symbol corresponds to a specific diamond color, creating a visual map for precise placement. Here’s a simplified process:
- Unpack the Kit: Each kit includes an adhesive canvas, colored resin diamonds, a tray, an applicator pen, wax pad, and sometimes tweezers.
- Flatten the Canvas: Smooth out your canvas so it lies flat—this prevents alignment issues later.
- Reveal a Section: Peel back only a part of the protective film covering the sticky surface to keep the rest dust-free.
- Prepare Diamonds: Pour the desired diamond color into the tray and gently shake; the drills will align right-side up.
- Apply the Diamonds: Dab the applicator pen into wax, pick up a diamond, and place it precisely onto the matching canvas symbol.
This sequence continues until every section has been filled, producing a detailed, glimmering piece that mimics digital resolution at an artisanal level.
Visual Table: Comparing Steps and Time Investment
| Step | Description | Estimated Time (for 30x40cm canvas) |
|---|---|---|
| Kit Preparation | Organize drills & flatten canvas | 10–15 minutes |
| Section Work | Applying diamonds row by row | 3–5 hours |
| Full Completion | All colors placed + finishing | 8–10 hours |
| Sealing & Display | Optional coating & framing | 30 minutes |
Larger canvases or complex portrait designs can take significantly longer, but the meditative rhythm of applying drills remains consistent throughout.
What Tools and Accessories Do I Need to Start My First Diamond Painting?
Basic Kit Components
Every diamond painting kit is designed for ease of use, even for newcomers. Here’s what you generally receive:
| Tool / Accessory | Function |
|---|---|
| Canvas with Design Grid | Adhesive base printed with symbols guiding placement |
| Resin Diamonds (“Drills”) | Small, faceted stones providing sparkle |
| Applicator Pen | Tool to place diamonds precisely |
| Wax Pad or Gel | Applied to pen tip for diamond pickup |
| Sorting Tray | Used to align diamonds for quick picking |
| Tweezers (Optional) | Helps reposition misplaced drills |
| Storage Bags or Boxes | Keeps color-coded diamonds organized |
Most suppliers package their kits with resealable bag systems, ensuring that drills remain uncontaminated and easy to handle in bulk production or storage.
Material Quality and Manufacturing Notes
High-end diamond painting kits use:
- Eco-friendly resin materials for consistent color reflections.
- Strong adhesive canvases to prevent drill slippage.
- Precision-coded printing that maintains clarity even in detailed designs.
As a manufacturer myself, I always emphasize printing precision and adhesive quality as defining factors. Low-quality adhesives can cause diamonds to loosen over time, undermining consumer satisfaction and brand reputation.
How Do I Apply Drills Accurately to Ensure a High-Quality Result?
Understanding Drill Shapes and Their Impact
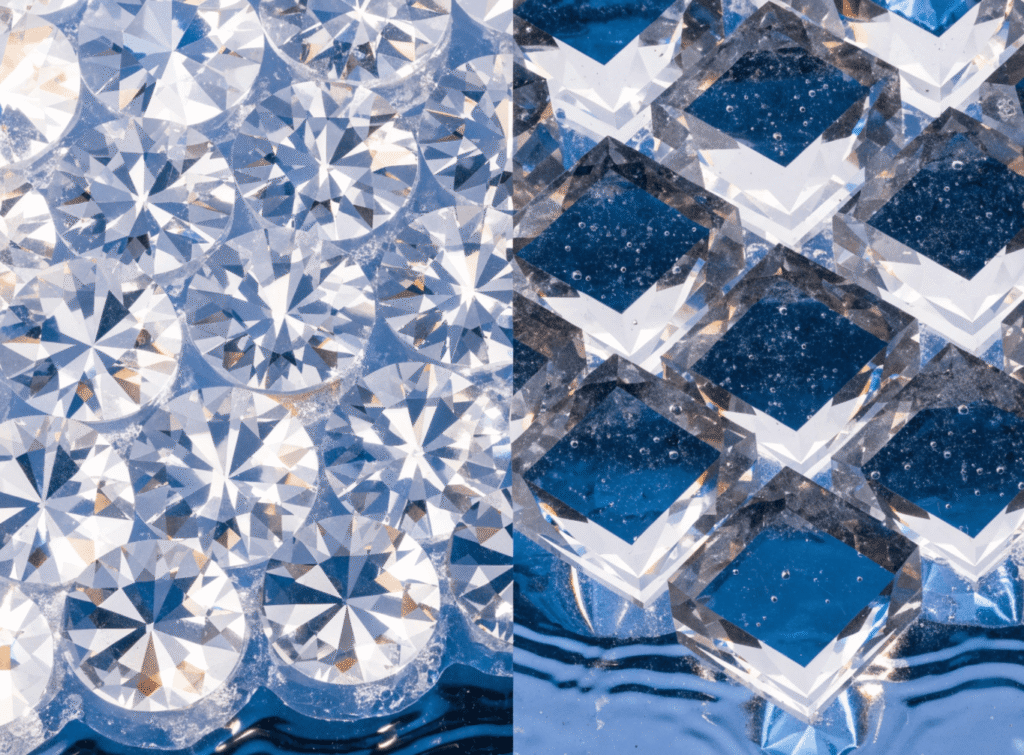
Drills come primarily in two shapes—round and square, each offering a distinctive aesthetic and experience:
| Drill Type | Placement Difficulty | Visual Effect | Recommended For |
|---|---|---|---|
| Round Drills | Easier & faster | Gentle sparkle | Beginners |
| Square Drills | Requires precision | Tighter mosaic look | Experienced users & high-detail designs |
Round drills are forgiving in misalignment, while square drills “snap” into place, achieving professional texture and seamless continuity.
Placement Techniques for Precision
To achieve industry-grade accuracy:
- Work in small sections at a time to maintain adhesive tackiness.
- Keep drills dust-free and flat in the tray.
- Use wax sparingly—too much can cause buildup on diamonds.
- Press lightly but consistently to secure every drill.
Advanced crafters or production testers may use light pads beneath canvases for better symbol visibility, ensuring uniform drill placement especially in bulk-made or complex designs.
Quality Control Tips for Professional-Level Finish
For B2B buyers or distributors evaluating finished samples, consider these QC benchmarks:
- Flat surface integrity: No raised or sunken sections.
- Color accuracy: Matches digital reference file.
- Adhesion test: Gentle rub should not dislodge drills.
- Symmetry consistency: No gaps or overlapping edges.
Professional suppliers often perform in-house inspections before packaging to ensure retail-ready perfection.
What Steps Should I Follow to Seal and Display My Finished Diamond Painting?
Finishing and Preservation Process
Once complete, sealing a diamond painting protects it from dust and potential drills coming loose. There are two common methods:
- Mechanical Pressing: Place parchment paper over the painting and flatten gently using a roller or heavy book to secure adhesion evenly.
- Sealant Application: Apply a thin, clear craft sealant (brush-on or spray) to lock drills in place. Sealants also enhance shine and add moisture protection.
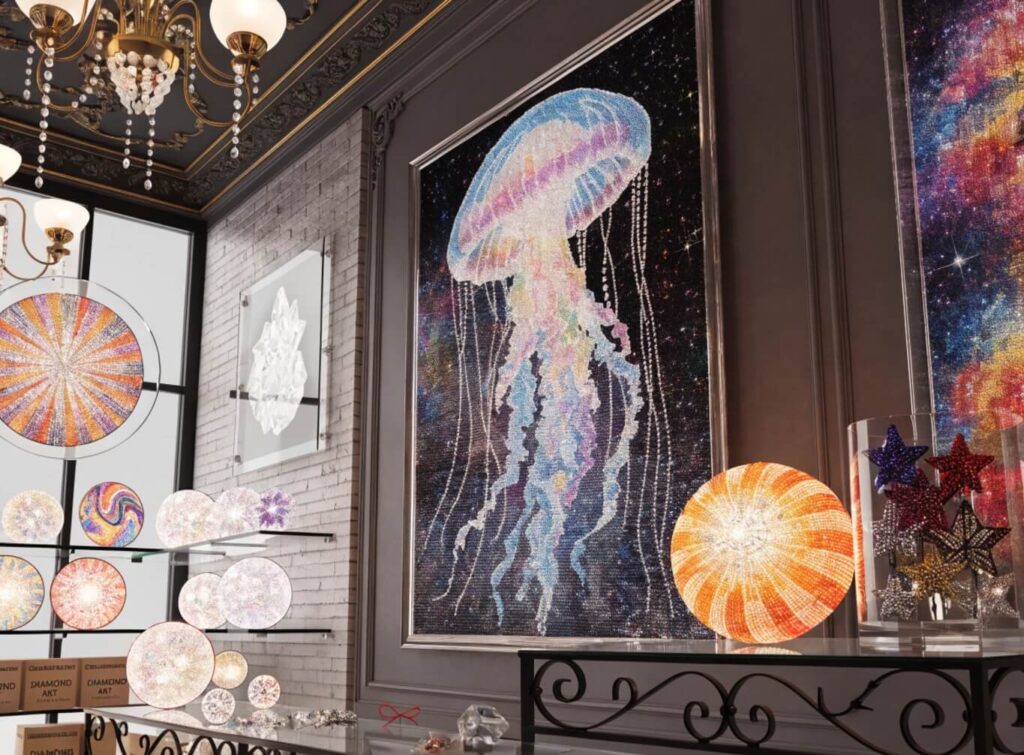
For premium display, the sealed piece can be:
- Framed behind glass, like traditional artwork.
- Mounted on foam board for lightweight exhibitions.
- Laminated using transparent sheets for flexible displays.
Optional Finishing Touches for Commercial Display
If you’re producing diamond paintings for retail, consider offering:
- Framing services as part of a bundled product.
- UV-resistant coatings for outdoor or illuminated displays.
- Custom catalog themes (landscapes, portraits, personalized photo conversions).
Retail Readiness Checklist
| Task | Purpose | Recommended Tools |
|---|---|---|
| Press painting flat | Ensure smoothness | Roller or flat book |
| Apply sealant | Protect and enhance shine | Clear acrylic or waterproof glue |
| Frame or mount | Add display appeal | Photo frame / mounting board |
| Package for retail | Maintain integrity during transit | Protective covering + corrugated box |
These steps make each diamond painting suitable for long-term showcase, whether sold online or displayed in a physical store.
Additional Industry Insight: Supply Chain & Consumer Trends
As someone deeply involved in manufacturing creative craft products, I’ve noticed sharp global growth in DIY leisure activities—especially post-pandemic. Diamond painting kits now rank among top-selling hobby items in e-commerce due to their simplicity and rewarding visual output.
Companies sourcing diamond painting kits can benefit from:
- OEM/ODM collaboration: Custom designs branded for retail stores.
- Material optimization: Choosing higher facet counts for dazzling “5D” effects.
- MOQ flexibility: Adjusting minimum order quantities to manage market testing.
- Trend adaptation: Introducing themed catalogs such as holiday décor, animals, or abstract art.
The craft’s appeal lies in emotional reward and visual satisfaction—making it a top choice for diversification across art retailers or home décor enterprises.
Conclusion
Diamond painting is more than a hobby—it’s a fine balance of precision, relaxation, and craftsmanship innovation. By understanding how it works—from matching coded symbols to applying drills and sealing the final art—both individual creators and wholesale suppliers can appreciate the skill behind each glittering piece.
Key Takeaways for B2B Professionals
- Invest in high-quality adhesive canvases and well-faceted resin drills.
- Offer customization and OEM/ODM services for brand differentiation.
- Maintain strict QC and standardized packaging for global distribution.
- Highlight the therapeutic and aesthetic appeal to attract diverse buyer segments.
Whether you’re a distributor sourcing complete kits or a manufacturer looking to expand into DIY crafts, diamond painting serves as a lucrative, satisfying product category blending art, precision, and joy.
Ready to explore? Request a sample kit, browse themed catalogs, or contact us to discuss private label manufacturing tailored to your market needs.