When I bought my first enamel pin set, I was overwhelmed by terms like “soft enamel,” “hard enamel,” “die-struck,” and “epoxy dome.” I wanted pins that looked great on my backpack, wouldn’t chip off my jacket, and fit my budget. If you’re feeling the same — unsure which pin type, size, or backing is right — I’ve been there, tested plenty, and learned what actually matters.
The best enamel pins for beginners balance the right pin type (soft vs. hard enamel), suitable size (1.0–1.25 inches), durable plating and backings, and a realistic budget. In this guide, I’ll explain pin types, how to choose design, size, and finish, what quality factors to check (plating, coloring, backings, packaging), and how to plan your budget and pick a reliable vendor.
I’ll walk you through my recommendations step by step, share the trade-offs I’ve seen in real orders, and include checklists and tables so you can compare options at a glance. By the end, you’ll know exactly which enamel pins fit your style, purpose, and price range — with fewer surprises when your pins arrive.
Table of Contents
- Understand Pin Types: Soft Enamel vs. Hard Enamel vs. Alternatives
- Design, Size, and Finish: Matching Style to Purpose
- Quality Factors: Plating, Coloring, Backings, and Packaging
- Budget, Order Size, and Vendor Checklist for First-Time Buyers
- Conclusion
Understand Pin Types: Soft Enamel vs. Hard Enamel vs. Alternatives
When I started comparing pin samples, the biggest decision was pin type. Each type has a distinct look, feel, and durability profile. Here’s how I explain it to first-time buyers.
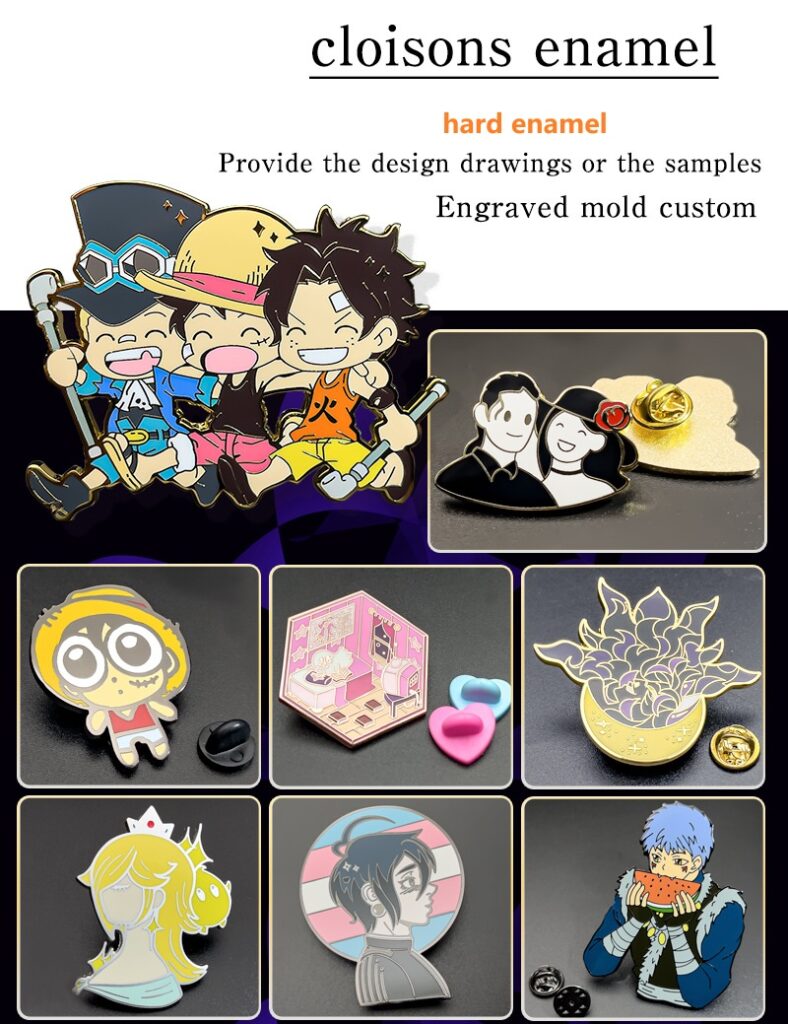
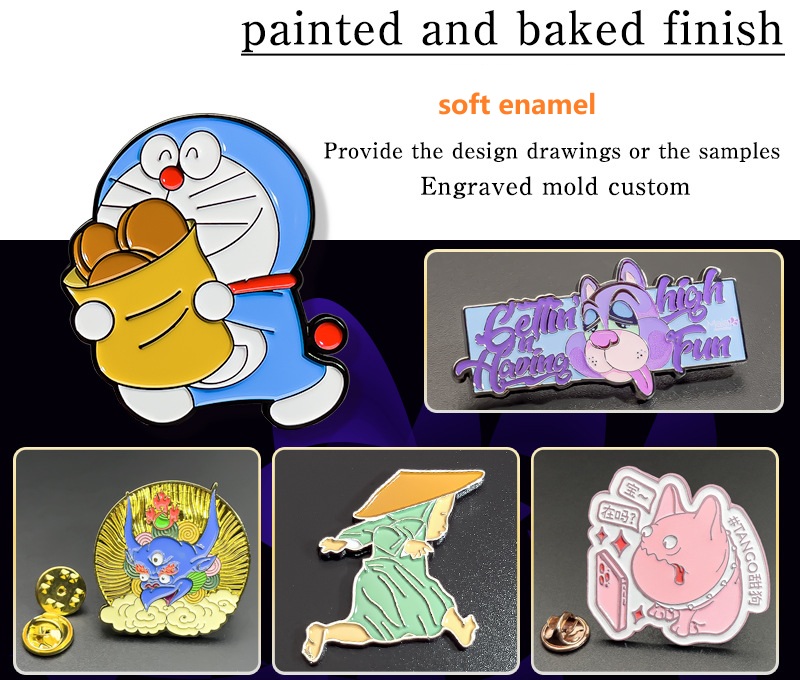
Soft Enamel: Textured, Vibrant, Budget-Friendly
- Look and feel: Recessed color pools with raised metal lines. You can feel the texture with your finger.
- Why I choose it: Bold colors, great for line art and pop designs, usually the most affordable.
- Best for: Merch drops, event pins, collector sets under budget, playful designs.
- Watch-outs:
- The textured surface can catch on fabrics.
- Slightly less scratch-resistant than hard enamel (unless you add epoxy).
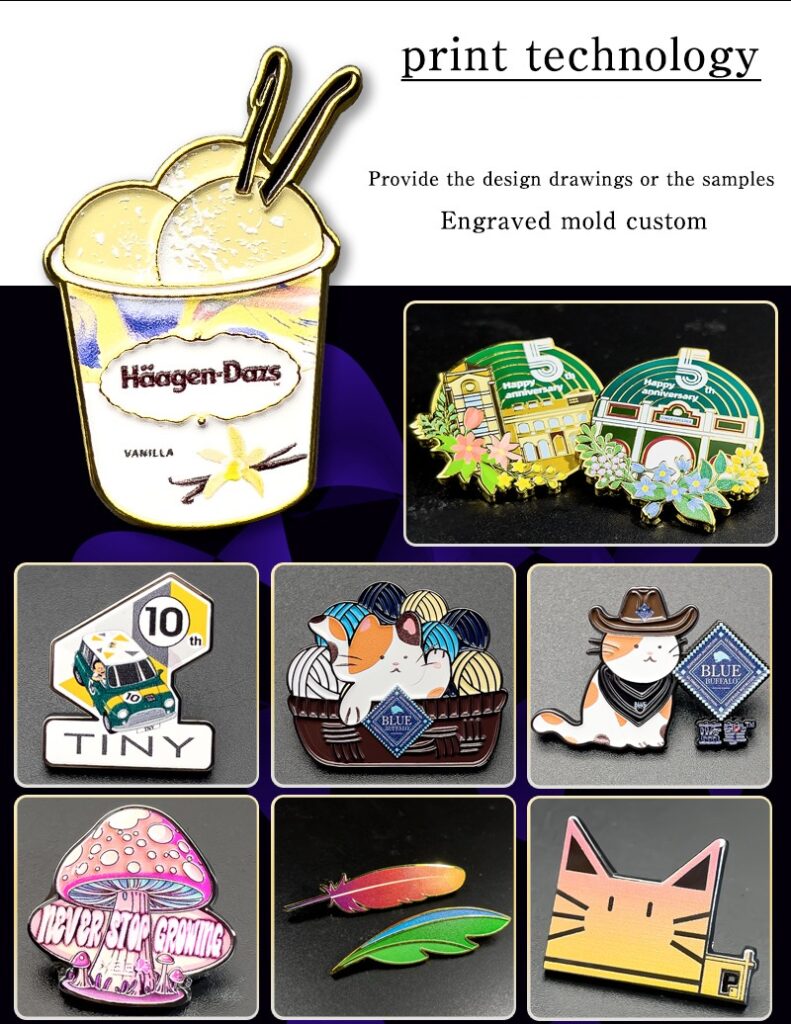
Hard Enamel: Smooth, Premium, Scratch-Resistant
- Look and feel: Polished flat surface; colors and metal are flush and smooth.
- Why I choose it: Feels premium, holds up better on daily-wear items like jackets or bags.
- Best for: Brand logos, gifts, uniforms, upscale collections.
- Watch-outs:
- Higher cost per pin.
- Slightly less saturated look compared to soft enamel in some colorways.
Die-Struck (No Color): Minimalist Metal
- Look and feel: Metal-only design using raised and recessed areas for contrast.
- Why I choose it: Elegant, timeless, and durable; ideal for formal or commemorative pins.
- Best for: Awards, corporate, vintage aesthetics.
- Watch-outs:
- Design relies on texture and plating; no color fills.
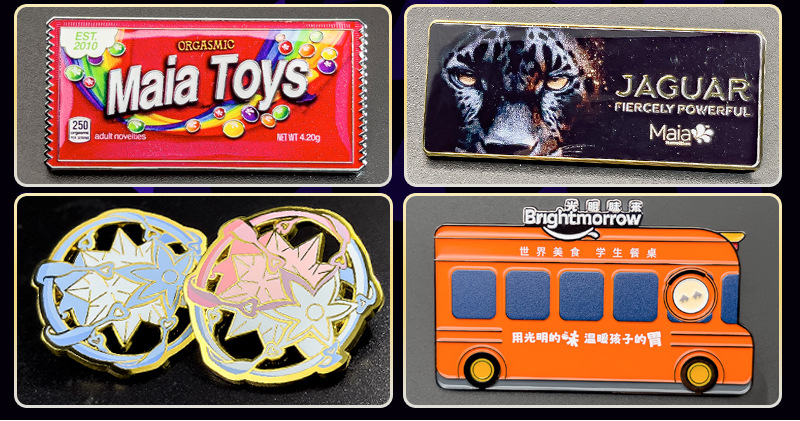
Printed Pins (Screen/Offset): Full Detail Artwork
- Look and feel: Smooth printed surface; can capture gradients, tiny text, or photo-like art.
- Why I choose it: When the design is too detailed for enamel cells.
- Best for: Illustration-heavy designs, photos, gradients.
- Watch-outs:
- Can scratch if not protected by epoxy.
- Looks different from traditional “enamel” style.
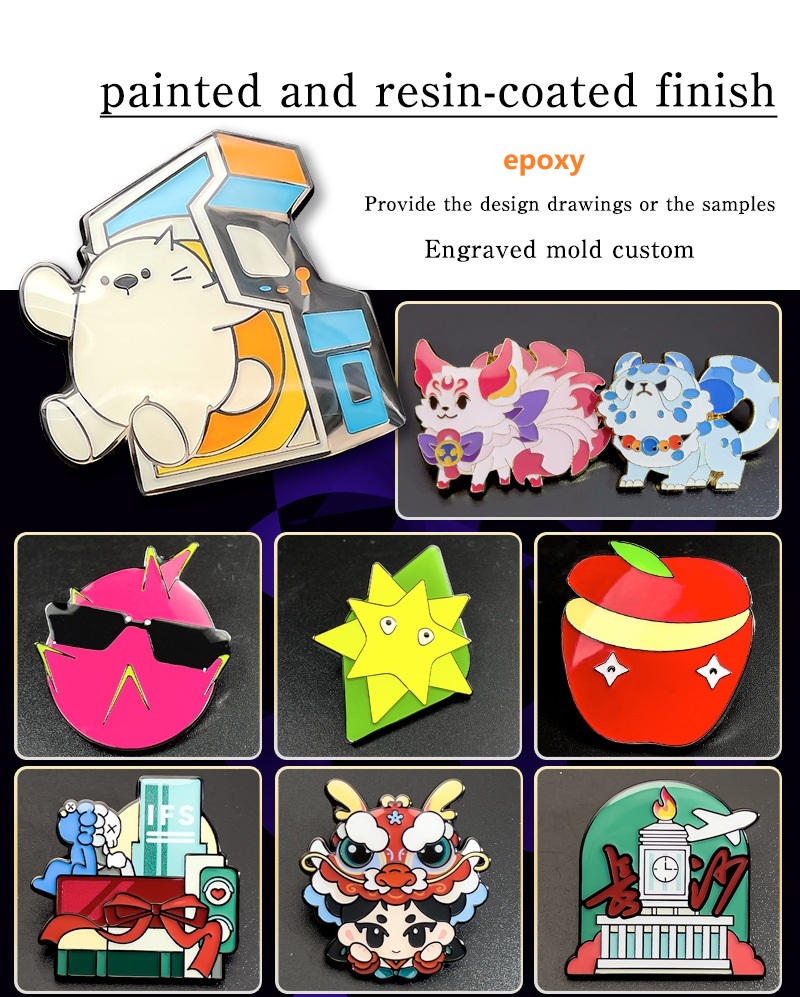
Epoxy-Coated Pins: Added Protection
- What it is: A clear resin dome coating applied on top of soft enamel or printed pins.
- Why I choose it: Smooth surface, extra scratch resistance, protects printed details.
- Watch-outs:
- Slight “domed” look; can change the way light hits the design.
Quick Comparison Table: Pin Types at a Glance
| Pin Type | Surface Feel | Look & Color | Durability | Cost Level | Best For |
|---|---|---|---|---|---|
| Soft Enamel | Textured | Bold, vibrant | Good | ~$1.20–$2.50 | Budget merch, line art |
| Hard Enamel | Smooth/flat | Clean, premium | Very good | ~$1.80–$3.50 | Logos, gifts, daily wear |
| Die-Struck | Textured metal | No color | Excellent | ~$1.70–$3.20 | Awards, classic styles |
| Printed | Smooth | Photo/gradient | Fair–Good (with epoxy) | ~$1.30–$2.80 (+$0.10–$0.30 for epoxy) | Complex art, tiny text |
| Epoxy (add-on) | Smooth dome | Protects art | Boosts scratch resistance | Add ~$0.10–$0.30 per pin | Soft/Printed protection |
My rule of thumb: If you want a classic pin vibe with strong color and lower cost, start with soft enamel. If you want premium, slick, and scuff-resistant, go hard enamel. If your design has gradients or micro text, go printed + epoxy.
Design, Size, and Finish: Matching Style to Purpose
Choosing the right design and size is where most first-time buyers overthink. I’ve learned to match the pin to the end use: wearable flair, collectible display, or brand recognition.
Choose the Right Size
- Everyday wear (jackets, hats, backpacks): 1.0–1.25 inches hits the sweet spot.
- Detail-heavy art or statement pieces: 1.5–2.0 inches to preserve line clarity.
- Subtle lapel/corporate pins: 0.75–1.0 inch for a clean, professional look.
Tip from experience: Small designs with lots of tiny details can blur in production. Increasing size by just 0.25 inch can dramatically improve readability.
Simplify Your Artwork for Enamel
- Minimum line thickness: Aim for 0.3–0.5 mm metal lines (ask your vendor’s spec).
- Avoid micro text unless you go printed pins.
- Limit color count to 4–6 for best balance of cost and clarity.
- Close paths cleanly; overlapping shapes can cause color bleeding.
I always request a pre-production proof with clearly marked Pantone colors and outline thickness. It saves headaches.
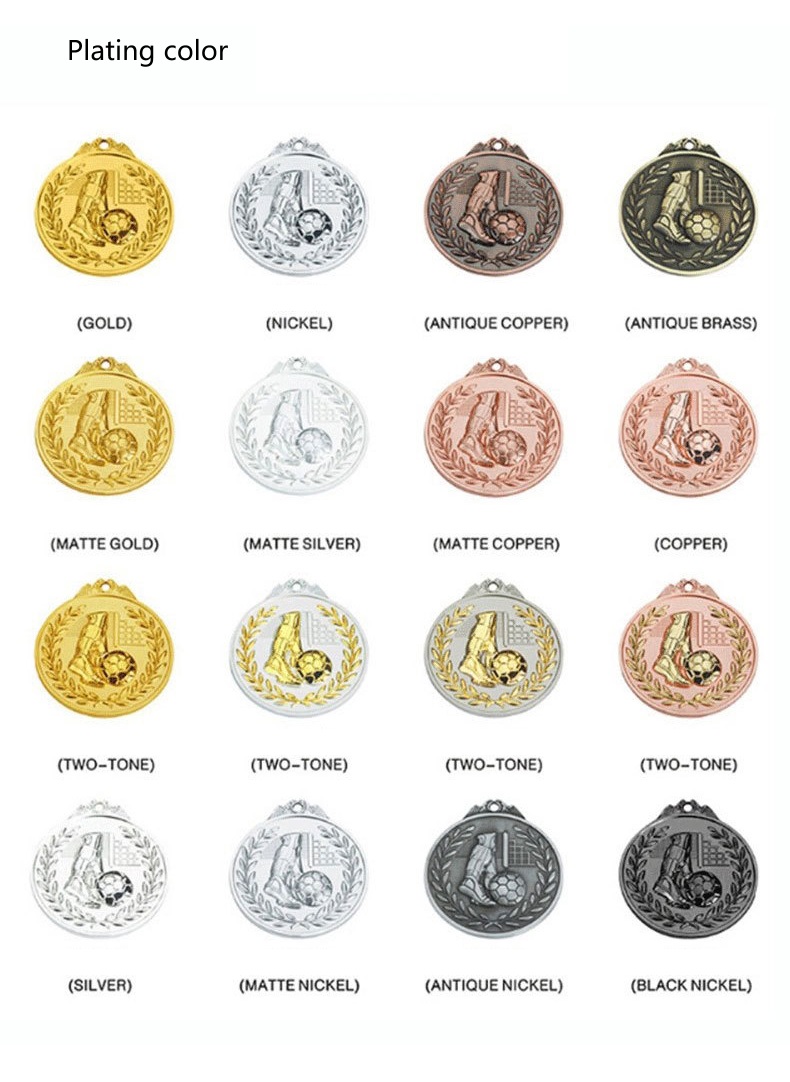
Pick a Plating That Fits the Mood
Common platings and what they say:
- Gold: Warm, premium, celebratory.
- Nickel/Silver: Modern, versatile, crisp contrast.
- Black Nickel: Edgy, great with bold lines; reflective but darker.
- Antique Gold/Silver/Copper: Vintage, textured; hides fingerprints and scratches well.
- Rose Gold: Trendy, soft premium.
- Dyed Black (painted black metal): Graphic look; matte options hide wear nicely.
Design tip: For soft enamel, black nickel or dyed black metal often makes colors pop and outlines look sharp.
Add Finishes for Extra Impact
- Glitter enamel: Sparkly fill for accents (stars, magic effects).
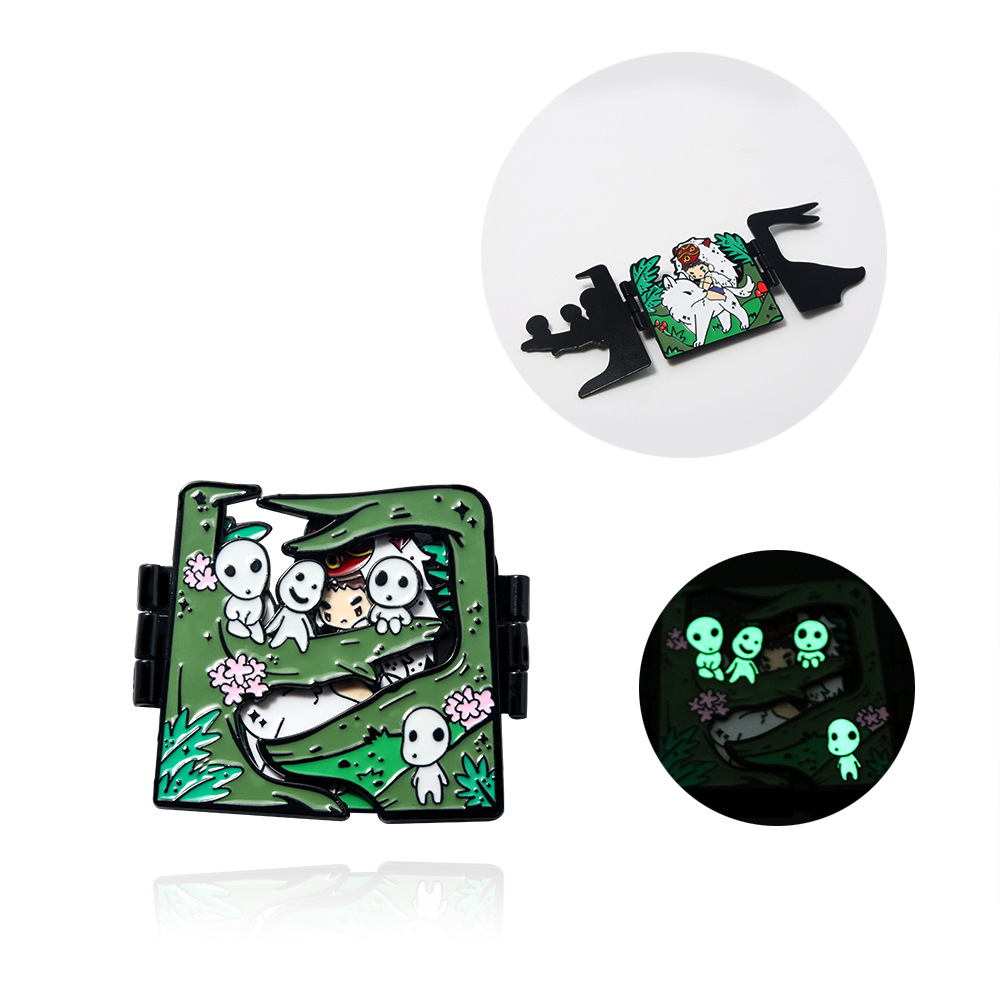
- Glow-in-the-dark: Fun for night events or spooky themes.
- Translucent enamel: Stained-glass vibe over recessed textures.
- Sandblasting: Matte texture contrast in die-struck areas.
- Cut-outs: Negative space shapes for unique silhouettes.
Use finishes to emphasize, not overwhelm. One or two special effects per pin keeps it classy.
Size, Style, and Use Case Cheat Sheet
| Use Case | Recommended Type | Size Range | Plating Ideas | Notes |
|---|---|---|---|---|
| Daily wear merch | Soft/Hard Enamel | 1.0–1.25 inches | Black Nickel, Gold | Keep lines bold; add rubber backs |
| Corporate lapel | Hard/Die-Struck | 0.75–1.0 inch | Gold, Nickel, Antique | Minimal colors; polished look |
| Artist collectible | Soft/Hard/Printed | 1.25–2.0 inches | Dyed Black, Rose Gold | Consider back stamp + numbers |
| Ultra-detailed art | Printed + Epoxy | 1.25–1.75 inches | Nickel, Black Nickel | Use hi-res files and proofing |
| Vintage/award | Die-Struck | 1.0–1.25 inches | Antique Gold/Silver | Texture carries the design |
Quality Factors: Plating, Coloring, Backings, and Packaging
The difference between “okay” and “wow” often comes down to small quality choices. Here’s what I look for before approving production.
Plating Quality Checks
- Even finish with no pitting or scratching.
- Consistent tone across the batch (gold shouldn’t vary pin to pin).
- Clean, sharp raised lines without burrs.
- For antique finishes, balanced contrast — not too muddy, not too shiny.
I request high-resolution photos or a physical pre-production sample if the order is large or the plating is unusual.
Enamel Coloring and Fill
- Pantone matching: Ask for Pantone Solid Coated codes and verify against your brand or art.
- Fill level: Soft enamel should sit slightly below metal; hard enamel should be polished flat.
- No bubbles, dust, or dye mixing in the color cells.
- Consistent color from edge to edge.
Pro tip: If your design has large color areas, ask the vendor how they control dust and bubbles. Good vendors are happy to explain their process.
Backings: Don’t Skimp Here
I’ve lost more pins from weak backings than from any other issue. Choose wisely based on how the pin will be worn.
- Rubber clutch: Comfortable and quick; great for casual wear. Get “deluxe” rubber for a tighter grip.
- Metal butterfly clutch: Secure and classic; can poke if worn against skin.
- Locking clutch (spring or screw): Best security; ideal for jackets, bags, and expensive pins.
- Magnetic back: No holes in fabric; weaker hold on thick materials; avoid for heavy pins.
For pins 1.25 inches and up, I prefer two posts for stability. It prevents spinning and reduces stress on a single point.
Post and Alignment
- Post length: Standard works for most fabrics; ask for longer posts for thick jackets or bags.
- Post count: 1 post for small lapel pins; 2 posts for 1.25 inches and larger or heavy designs.
- Alignment: Request that posts be centered to prevent tilt; use two posts spaced evenly for wide pins.
Back Stamps and Branding
- Add your logo or website as a back stamp.
- Use edition numbers for limited runs (e.g., “1/100”).
- Include plating code or year for collectors.
This small touch elevates your pin from generic to branded merchandise.
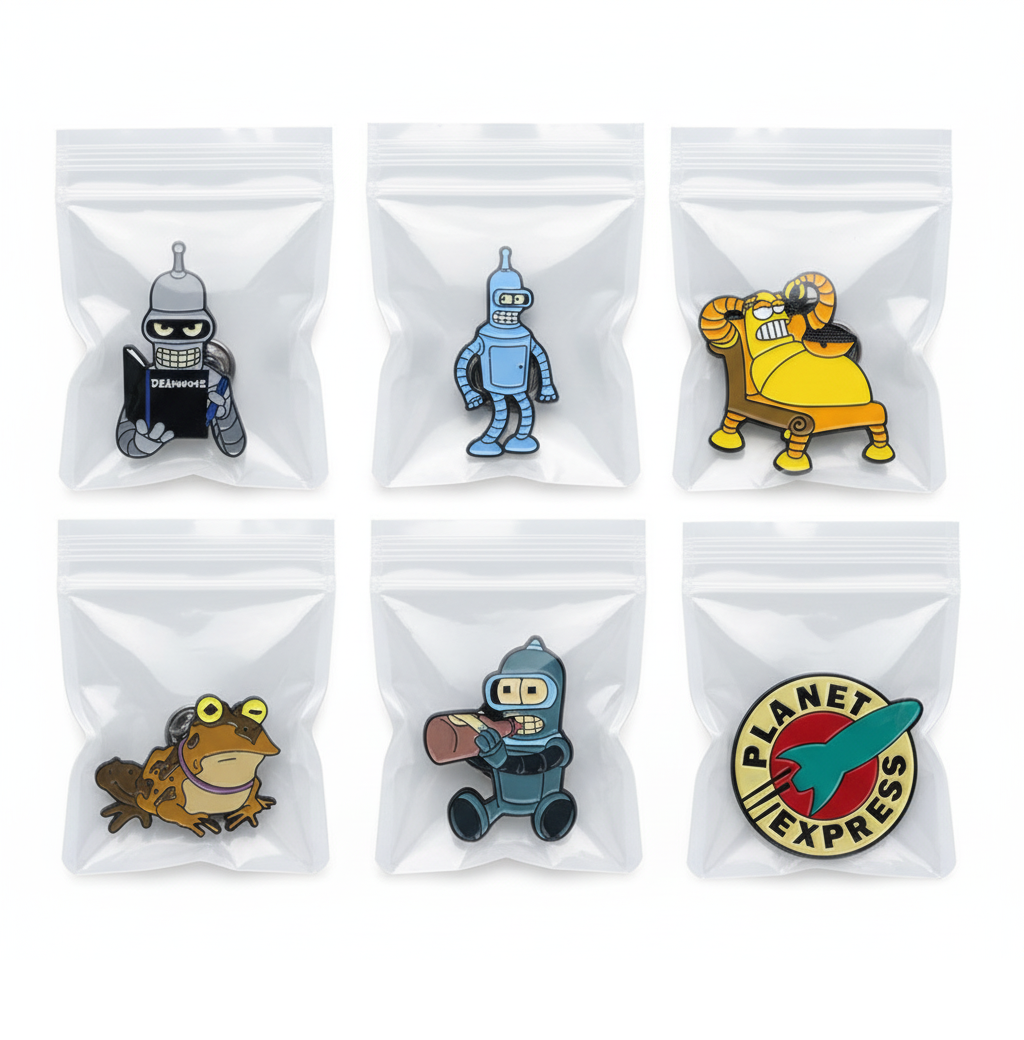
Packaging That Protects and Sells
- Basic: Individual poly bag with backing card — cost-effective and presentable.
- Premium: Custom die-cut backing cards, foil accents, or recycled craft for eco appeal.
- Retail-ready: Hang holes, barcode/QR, and brand story on the card.
- Giftable: Small box or velvet pouch for corporate or commemorative pins.
For online sales, I ship pins in bubble mailers with an extra small piece of foam to protect the face.
Budget, Order Size, and Vendor Checklist for First-Time Buyers
Your budget affects pin type, size, and finishes. I like to reverse-plan: define your target per-pin cost, then choose specs to match.
How Budget Impacts Choices
- Pin type: Soft enamel is usually the most budget-friendly; hard enamel costs more due to polishing.
- Size: Costs increase with size; 1.0–1.25 inches is the most economical.
- Colors: More enamel colors can raise cost; special effects add surcharges.
- Plating: Standard nickel/gold is cheapest; antique, black nickel, or rose gold can cost more.
- Backings: Locking clasps increase per-pin cost but reduce loss.
- Packaging: Custom backing cards add a small but worthwhile marketing cost.
Typical Cost Ranges (Indicative, vary by vendor and quantity)
- Soft enamel, 1.25″, standard plating, single post, rubber clutch: budget-friendly baseline.
- Hard enamel, 1.25″, premium plating, two posts, locking backs: moderate to premium.
- Printed with epoxy, 1.5″, two posts, custom card: moderate.
Ask for multiple quotes with a consistent spec sheet so you can compare apples to apples.
Order Quantities: Start Smart
- Minimum order quantities (MOQs): Commonly 50–100 units per design.
- Test runs: If you’re nervous, order the MOQ and gather feedback before scaling.
- Reorders: Vendors waive the mold cost on reorders; plan core designs you’ll keep restocking.
Tip: If you plan a series, keep size and plating consistent to reuse molds or streamline production.
Vendor Checklist I Use
Pre-vetting:
- Portfolio quality: Look for clean lines, even fills, and consistent plating in their photos.
- Communication: Do they answer questions clearly and quickly?
- Proofing process: Do they provide accurate digital proofs with Pantones?
- Lead times: Typical is 2–4 weeks; faster may cost more.
- Policies: Replacement/defect policy, shipping insurance, and rework options.
During quoting:
- Provide exact specs: size, type, plating, number of colors, special effects, post count, backing type, packaging.
- Ask for breakouts: unit price, mold fee, shipping, taxes, extras.
- Confirm color system: Pantone matching and finish previews.
Before production:
- Approve final proof carefully: lines, colors, plating, back stamp, post placement, card design.
- If budget allows: Request a pre-production sample, especially for complex finishes.
Upon receiving:
- Inspect 10–20% of the batch: check for plating flaws, fill bubbles, misaligned posts.
- Sort A-grade vs. B-grade: Sell A-grade; label B-grade as seconds at discount if you run a shop.
- Document feedback: Share issues with the vendor for future runs.
Simple Spec Sheet Template (Copy/Paste)
- Pin type: Soft/Hard/Die-Struck/Printed (+ Epoxy?)
- Size: X inches (width or height)
- Plating: Gold/Nickel/Black Nickel/Antique/etc.
- Colors: Pantone codes (list)
- Effects: Glitter/Glow/Translucent/Sandblast/Cut-outs
- Posts: 1 or 2; placement notes
- Backings: Rubber/Metal/Locking/Magnet
- Branding: Back stamp artwork/edition numbering
- Packaging: Backing card size/print; poly bag/box
- Quantity: MOQ or target quantity
- Timeline: Desired ship date
Conclusion
If I were buying my first enamel pins today, I’d start with 1.0–1.25 inch soft enamel, black nickel or gold plating, two posts with rubber or locking backs, and a clean design with 4–6 colors. I’d add a simple branded backing card and keep special effects to a minimum on the first run.
The right choice comes from matching pin type to purpose, keeping designs production-friendly, and insisting on clear proofs and solid backings. Based on my experience, that combination delivers pins that look great, feel premium, and actually last in the real world. You’ve got this — and if you use the checklists here, your first batch should come out exactly how you imagine.