When I first started making jewelry, I remember how overwhelming everything felt. There were wires, beads, pliers, and a dozen different techniques I couldn’t tell apart. I spent hours watching tutorials, but nothing made sense until I got my hands on the actual materials and began experimenting. If you’re new to jewelry making, don’t worry — I’ve been exactly where you are, and learning the basics is all it takes to start creating something beautiful.
The best jewelry making techniques for beginners include wire wrapping, bead stringing, knotting, metal stamping, and soldering. Each method offers unique creative possibilities and skill-building opportunities. In this guide, I’ll explain what these techniques are, the tools you’ll need, and practical tips from my own experience to help you get started confidently.
Jewelry making is one of those crafts that rewards patience and practice. The more familiar you become with basic techniques, the more creative freedom you’ll have to design custom pieces that reflect your personality. Let’s go through each skill step-by-step so you’ll know exactly where to begin and how to build your toolkit wisely.
Wire Wrapping: The Foundation of Handmade Jewelry
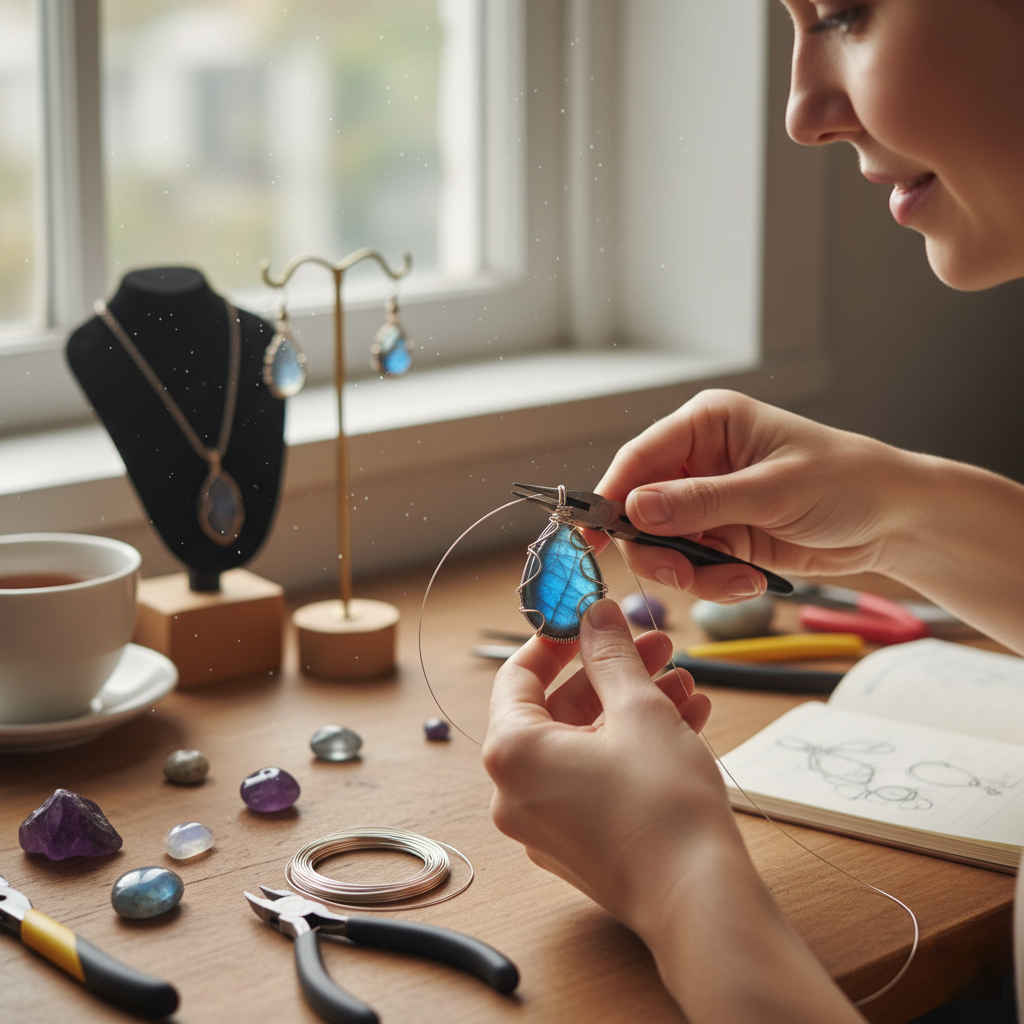
Wire wrapping is one of the easiest and most versatile techniques beginners can learn. When I first discovered wire wrapping, I realized how much control it gave me over my designs — from creating loops for pendants to securing gemstones in place.
Understanding the Basics
Wire wrapping involves bending and twisting wire around stones, beads, or other components using pliers and cutters. It’s an essential technique for making pendants, rings, and earrings without needing solder or glue.
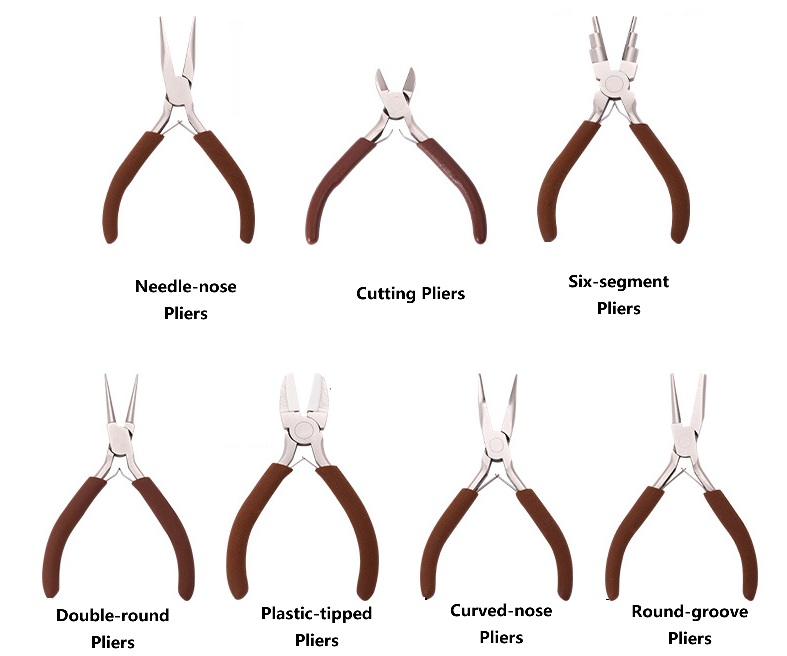
| Tool | Use | Beginner Tip |
|---|---|---|
| Round-nose pliers | Create loops and curves | Practice forming even loops with scrap wire |
| Flat-nose pliers | Grip and shape wire | Keep two pairs handy for twisting |
| Wire cutters | Trim excess wire | Cut slowly to prevent uneven edges |
Common Mistakes I’ve Learned From
- Using wire that’s too thick: Harder to bend and can break delicate beads.
- Skipping practice: Start with inexpensive craft wire before moving to silver or gold-filled.
Once you understand wire gauges and tension, you’ll find it easier to design durable and attractive pieces.
Bead Stringing: The Simplest Way to Start Creating
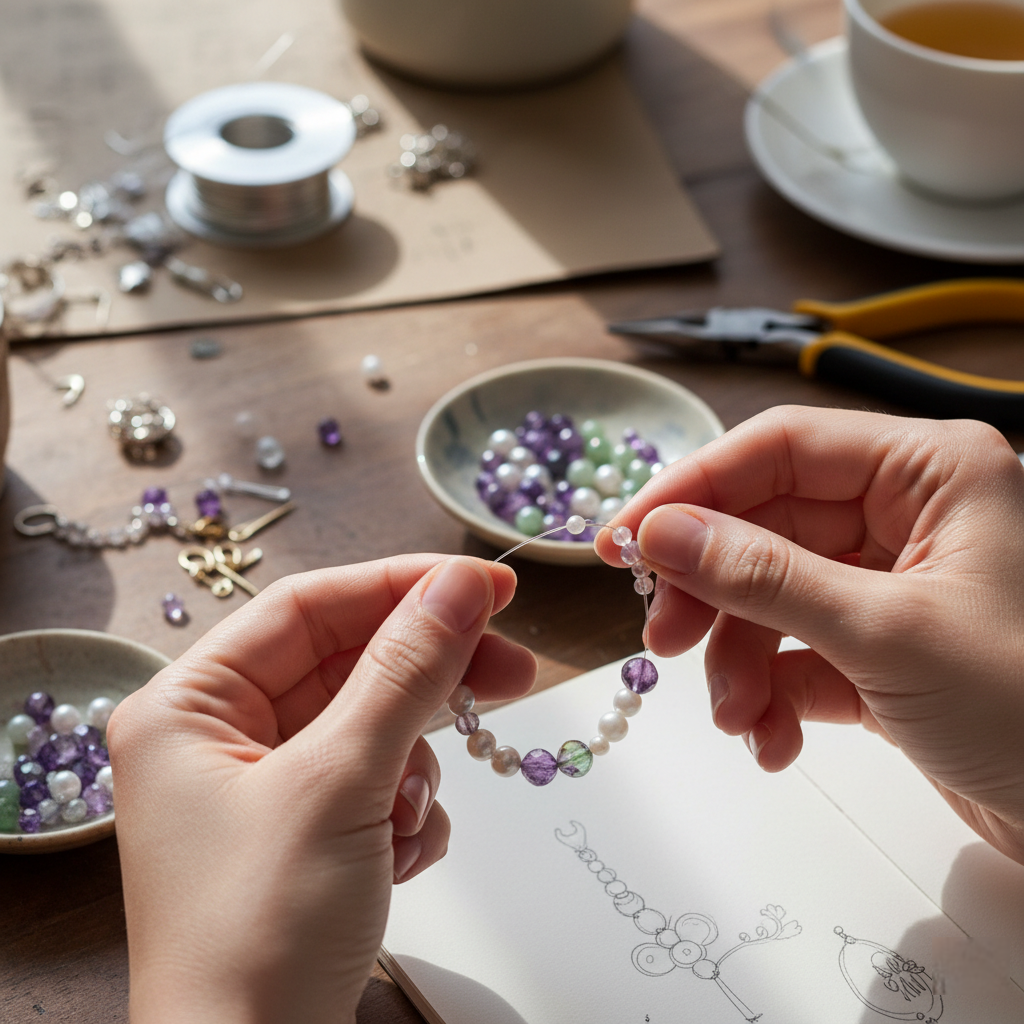
I still remember how my very first necklace came together — a simple string of turquoise beads on clear nylon cord. Bead stringing is incredibly beginner-friendly because you don’t need complicated tools or materials.
What You’ll Need
- Beads (glass, stone, wood, or metal)
- Stringing material (nylon, elastic, silk, or wire)
- Crimp beads or knots to secure ends
- Clasps and jump rings for finishing
| Material | Flexibility | Durability | Best For |
|---|---|---|---|
| Nylon cord | High | Moderate | Lightweight beads |
| Beading wire | Medium | High | Heavy beads or mixed designs |
| Silk thread | High | Low | Traditional pearl necklaces |
Tips for Success
- Plan your design: Lay out beads on a bead board before stringing.
- Secure properly: Always double-check your knots or crimps before wearing.
- Match the stringing material to bead weight: Heavier beads need sturdier wire.
Bead stringing teaches patience and pattern planning — two skills that help with every other jewelry technique.
Knotting Techniques: Building Strength and Style
Knotting isn’t just functional; it adds beauty and movement to your pieces. I learned knotting through making friendship bracelets and later applied it to pearl necklaces for a more professional finish.
Basic Knots Every Beginner Should Know
- Overhand Knot: Great for separating beads and securing ends.
- Square Knot: Perfect for macramé and adjustable bracelets.
- Surgeon’s Knot: Adds extra strength to stretch cord bracelets.
| Knot Type | Difficulty Level | Common Use |
|---|---|---|
| Overhand | Easy | Separating beads |
| Square | Medium | Macramé patterns |
| Surgeon’s | Moderate | Securing elastic |
Why Knotting Matters
Aside from aesthetics, knots prevent beads from rubbing against each other and breaking. If your strand snaps, only one bead will fall — not the entire necklace. That’s one lesson I learned the hard way after losing a dozen glass beads on a tile floor!
For beginners, start with silk or nylon cords; they’re easier to handle and make tighter, smoother knots.

Metal Stamping & Soldering: Crafting Custom Designs
Once you’re comfortable with basic assembly, it’s time to personalize your jewelry. Metal stamping and soldering are the next-level techniques that open new creative doors.
Metal Stamping
I started stamping initials on bracelets for friends — and it’s still one of my favorite parts of the craft. Metal stamping involves striking letter or symbol stamps onto a metal surface using a hammer to create impressions.
Tools Required:
- Stamping blanks (brass, copper, or aluminum)
- Metal stamps and hammer
- Steel block or stamping pad
- Polishing cloth
Beginner Tip: Practice on scrap metal blanks before moving to sterling silver. Accuracy improves with rhythm and gentle pressure.
Soldering Basics
Soldering joins metal pieces together using heat and a filler metal. It’s common in ring-making and chain repair. I was nervous about trying soldering, but once I learned safety basics, it became an empowering skill.
| Tool | Function | Safety Note |
|---|---|---|
| Soldering torch | Heats metal joins | Always handle with flame-resistant gloves |
| Flux | Cleans and prepares metal | Avoid inhaling fumes |
| Solder | Acts as bonding metal | Choose lead-free types for jewelry use |
Start with small projects like jump ring closures or simple band repairs to build confidence.

Conclusion
Learning jewelry making is a journey — one that combines creativity, patience, and the joy of crafting something with your own hands. Every beginner struggles at first, but once you master these five essential techniques — wire wrapping, bead stringing, knotting, metal stamping, and soldering — you’ll have the foundation to design practically any piece you imagine.
Based on my experience, wire wrapping and bead stringing are the best places to begin. They build your confidence and understanding of materials quickly. As you progress, metal stamping and soldering will let you customize like a true artisan.
If you’ve been hesitant to start, trust me — all it takes is a bit of practice and curiosity. Grab your tools, explore these techniques, and you’ll soon be creating jewelry that’s not only beautiful but uniquely yours.